Art students learn the fascinating tradition creating of Ukrainian eggs
April 26, 2019
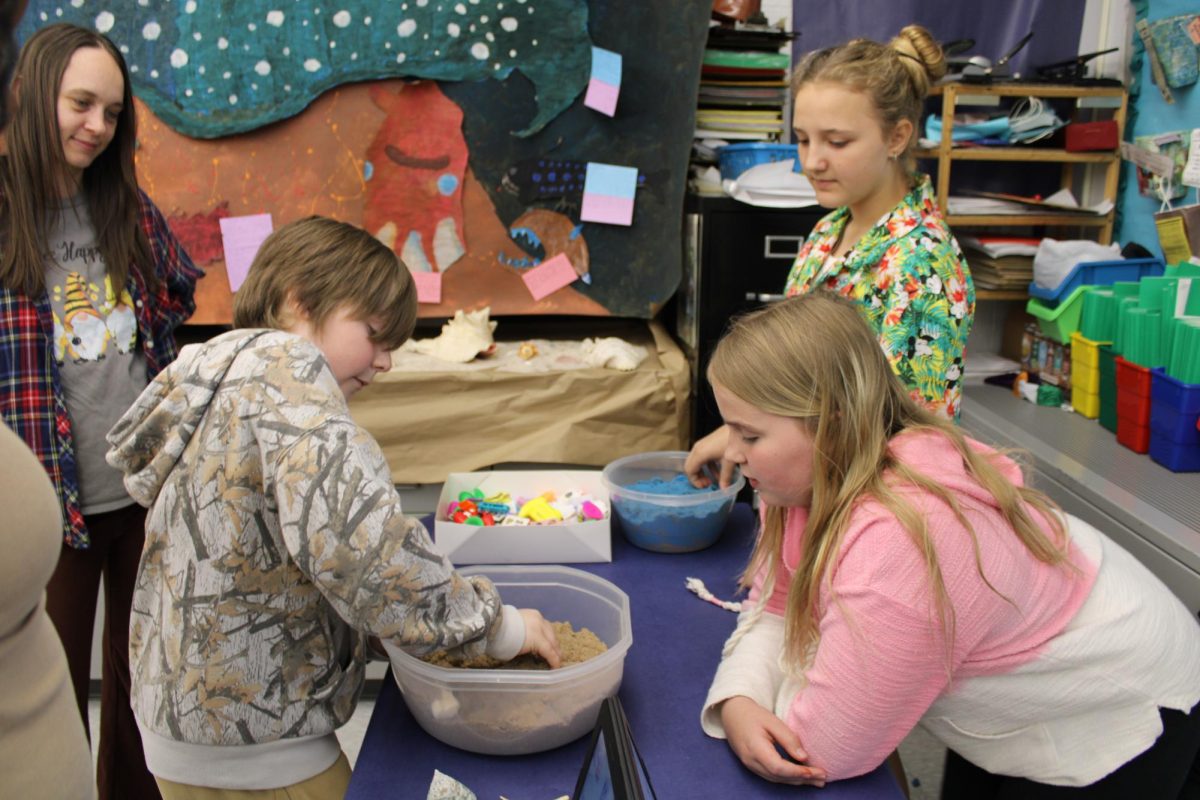
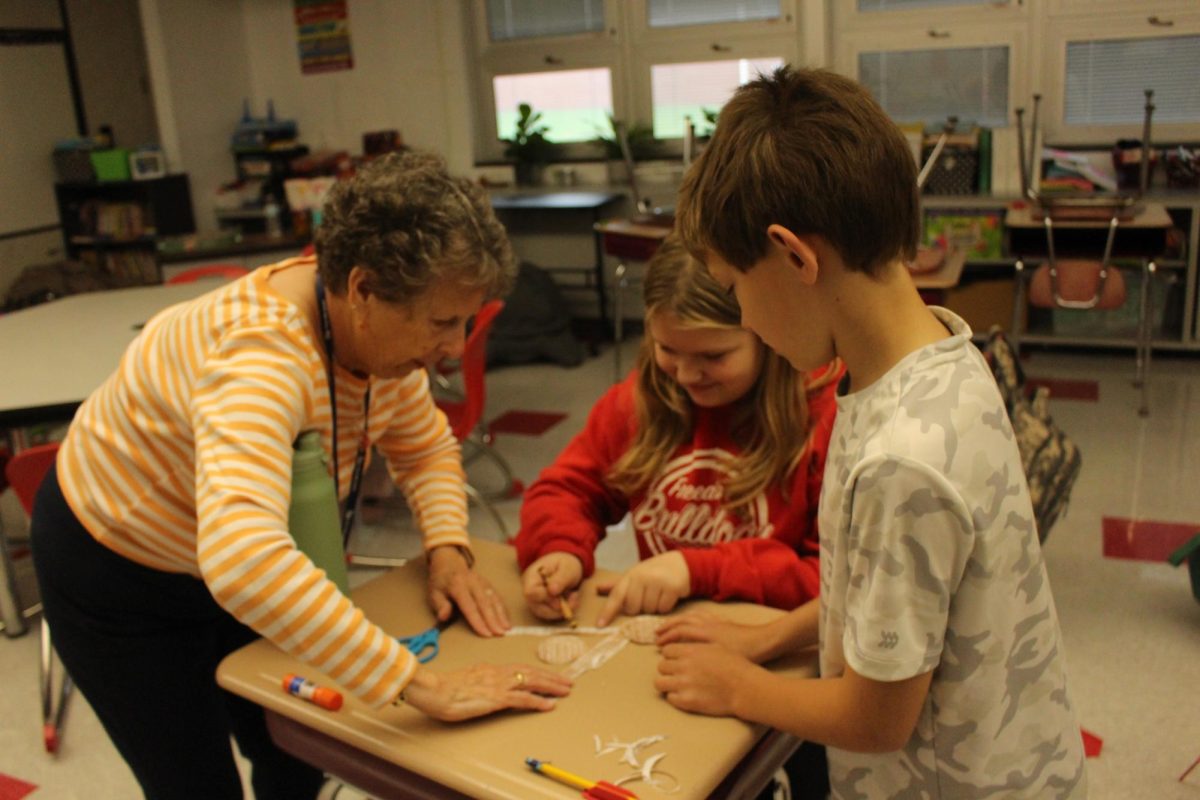
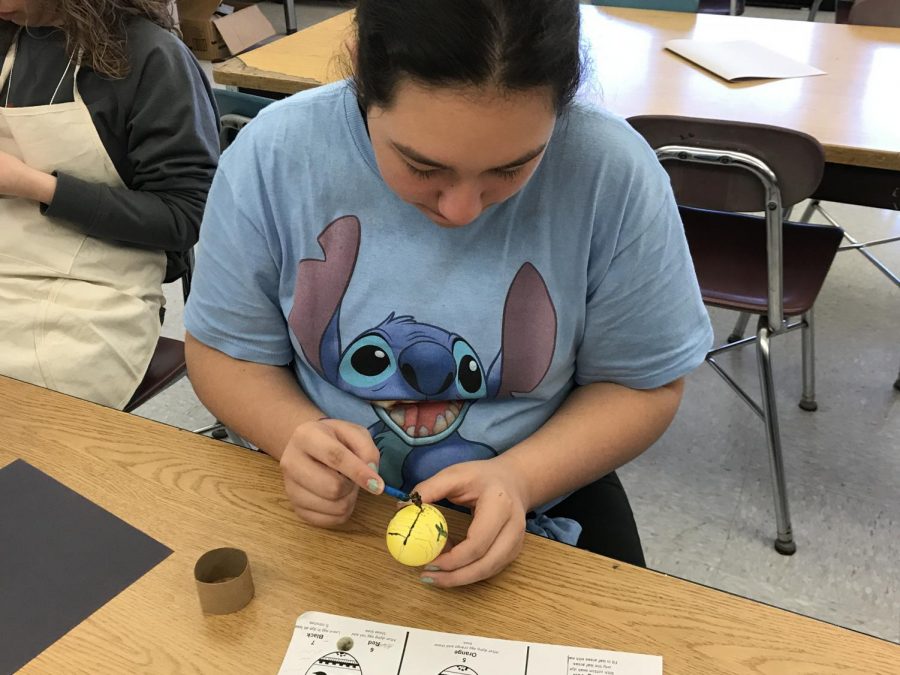
From March 25 to April 10, sixth and eighth grade art students got to indulge in the wonderous and tedious activity of Ukrainian eggs, also known as Pysanky eggs! This is an art that students have been able to create for four years with Mr. Gregg and Ms. Miller.
Ukrainian eggs are not just normal easter eggs though. Ukrainian eggs were being made as long as historians can remember dating back to the late 17th century. Ukrainian eggs first came to existence when Christianity was first adopted by the people that we now call Ukrainians.
Ukrainian eggs are made way differently than traditional Easter eggs. To make a normal Easter egg you must make the dye using vinegar and a dye tablet, then you dunk your egg into the dye to make a colored Easter Egg. To make a Ukrainian Easter egg though, you must have a series of supplies to start your egg such as a kistka, pencil, assortment of dye colors, candle, empty egg, beeswax, and also plenty of patience. First to start a Ukrainian egg you must start by making lines in pencil on the egg to find out where the middle of the egg is. After finding the center of the egg, you now can start making outlines or pictures where you would like to keep white lines or whatever color egg you have. After you have finished outlining and or drawing, you then must heat up your kistka in the flame of your candle without putting the kistka directly in the fire. When your kiska is fully heated you then will put a small amount of beeswax into the top of the kiska. Then repeat the first step of heating up your kistka until beeswax then starts to drop from the bottom of the kistka. With your beeswax now ready you are now able to start covering the lines which you have made on your egg with beeswax. When finished you then may dunk your egg into the dye of your choice. After dunking your egg for a good 45 seconds you are now able to take your egg out from the dye and wipe off your egg onto a paper towel. After you have finished wiping your egg you are now able to repeat those steps over and over again to make your egg as unique as you want.
After all the work you have put into your egg now it is time to take of all your wax that has been stuck onto the egg. To do this you must carefully put your egg close to the candle flame until your wax melts, and then wipe it off your egg with a paper towel. After all those steps you are able to make a beautiful egg known as a Ukrainian egg. It will not look as you would of thought the first time though. To get better you must try again. Not everything is perfect the first time you do it.
“It was a boring process but it was really nice to see the final product and how cool it looks after you are all done.” said Beau DeThomas, one of the art students who got to participate in the beautiful egg making process.